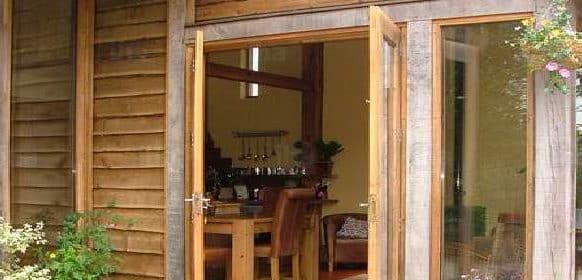
Useful DIY Advice For Installing New Patio Doors At Home
Patio season is here, and Ottawa residents are making the most of the sunny days on their backyard patios. If your patio doors are in need of an upgrade—maybe they don’t slide as well as they used to, or they are poorly insulated—consider a new patio door installation. If you’re into DIY home renovations, the installation takes about a day, and you will need an extra hand for heavy lifting at times. Or you can trust the pros to get the job done. Contact the patio door installation experts in Ottawa for help if you find these installation instructions too daunting.
Step 1—Measure the Opening
Measure the rough opening first to get accurate measurements for your new patio doors. Use a pry bar to lift the trim and remove any drywall to expose the framing. Measure the width between the studs and the height from the floor to the beam. You will need to measure right next to the old door jamb.
Step 2—Remove Your Old Patio Door
Pry free exterior trim pieces. To remove the sliding panel, latch it and then unscrew the inside head stop to remove it. Unlatch the panel, tilt the top inwards, then lift it off the track.
To remove the stationary panel, first remove any angle brackets by unscrewing them at the top and bottom of the panel. Slide the panel towards the latch, and pry the top and bottom of it free from the frame, tilting inward and lifting it off.
Once the panels are out, you can remove the old frame. Pry off the exterior trim and use a reciprocating saw to cut carefully between the door frame and the framing. You can then remove the old frame from the opening.
Step 3—Install Leak-Proof Flashing
To start, make sure the floor is level before installing flashing. If it’s more than a quarter inch off level, place two long tapered shims (made of treated wood) under the sill and fill any holes with polyurethane caulk.
Next, install flexible flashing under the door sill and 2 inches up the sides. Make sure the flashing covers the weather barrier or deck flashing below the door. You might need to overlap two rows of flashing to do so.
Place a vinyl sill pan over the flashing. Use PVC cleaner to clean the joint overlaps, lay the parts in place, and use PVC cement to weld the seams.
Install flashing along the sides on any building paper, house wrap, or sheathing. Fold the flashing around the door frame opening. If it doesn’t stick behind vinyl trim, tuck no. 15 roofing felt 2 inches under the flashing.
If your slider is unprotected on the top, leave the top fin intact. When you place the new door frame into the opening, slip the fin under the weather barrier under the siding, then slip a drip cap under the weather barrier.
Step 4—Install Patio Doors
Assemble the frame using the manufacturer’s instructions. Check if the frame fits in the opening, then rest it flat.
Apply two beads of silicone caulk on the underside of the sill. Place the frame in the opening and push door fins tight against the sheathing.
Centre the door frame with siding or trim, and use a level and shims to square the frame. Screw the frame into place.
Tilt in the stationary panel, push against the frame, and install angle brackets.
Tilt the sliding panel into place and screw the inside head stop to the top of the frame. Adjust the door by sliding it slightly open and adjusting roller heights until even.
Finishing Up
If necessary, install extension jambs on the interior, and insulate around the door frame with fiberglass. Install interior trim (leaving an eighth of an inch between trim and extension jambs).
Install exterior filler strips between the frame and siding, leaving one eighth-inch gaps on both sides. Fill all gaps with silicone caulk, and screw or nail treated wood, cedar, or composite material under the overhanging lip of the threshold for support.
Get your new patio doors installed soon so you can enjoy the most of Ottawa’s warm weather on your patio. For more information and help with the installation, contact the experts in patio door installations in Ottawa.

