Useful Tips for Installing Replacement Doors on Your Own
If you’ve decided to upgrade your exterior doors on your own and you have basic carpentry skills, pre-hung replacement doors are fairly easy to install. If you run into any problems along the way, contact the replacement door experts.
Make sure you have the following tools and materials before starting your project:
[su_list icon=”icon: chevron-right” icon_color=”#EC3826″]
- Hammer,
- Pry bar,
- Tape measure,
- Levels,
- Utility knife,
- Caulk gun,
- Nail set,
- Saw,
- Miter saw (if installing new interior trim),
- Treated lumber (if building up the sill),
- Flexible self-sticking flashing membrane,
- Two tubes of polyurethane caulk,
- Two cans of minimal expanding foam,
- Foam caulk backing (optional)
- One pound of 10d and of 16d galvanized casing nails
- One pound of 3-inch coated deck screws
- 4d, 6d and 10d finish nails
- Measure Old Door
[/su_list]
Order your new door based on your old door’s measurements. Round up (to full inches) its width and height measurements. Measure the jamb width from the backside of the exterior trim to the backside of the interior trim. Next, measure the rough opening width between framing members and from the bottom of the sill to the top of the opening. Lastly, measure the exterior opening—measure to the outer sides of the exterior casing, and from the bottom of the sill to the top of the trim.
Remove Old Door
If you want to reuse interior moldings, pull the nails from the back with pliers. Cut through one side jamb to remove the frame easily. Inspect the sill and replace any rotted wood. Use flashing tape or a plastic sill flashing kit to weatherproof your sill. If your door is exposed to the elements, install a metal drip cap overtop to direct water away from your new door.
Prepare Sill
Use a level to check the sill. Build it up until your door fits well using treated lumber and shims to level it. Test your door in the frame and adjust the door and frame until they are level and plumb with the jamb. Check if the casing fits against the siding—trim the casing (with a circular saw or belt sander) or cut back the siding if the casing and door frame don’t fit.
Set Door in Opening
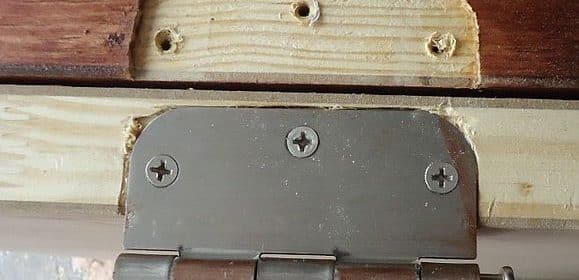
Inspect the building paper around the frame and slide No. 15 felt strips behind the siding, stapling them to the frame. Caulk along the sill and behind the casing. Tip the door into the opening and centre it—shim the sides until they are straight and plumb. Adjust shims until all the sides of the doors have equal gaps between the door and jam. At each shim location, nail through the jamb into the frame. Lastly, replace the middle screw in each hinge with a long screw that will reach the frame to prevent a sagging door.
Insulate, Caulk, & Install Interior Trim
Use minimal-expanding foam insulation to fill the space between the jamb and the frame. Once the foam has set, loosely fill any remaining spaces with fiberglass insulation. Next, install the interior trim, use foam backers to fill any large gaps on the exterior, and then caulk. Apply a trim board under the sill if necessary. Once your door is installed, you can remove it to paint, stain, or varnish the door, trim, and jamb.
These are the basic steps to installing replacement doors. But if you have any questions or problems, contact the door experts for help.